Showing posts with label Reviews. Show all posts

Sunday, June 16, 2019

Sold But Not Forgotten - Du Barry 2413B

I haven't blogged in some time, so today I'm writing up a quick post on a past sewing project to help get back into the swing of things.

This dress is easily one of my top ten favorites of all the reproduction pieces I've made to sell so far. This super cute 1930s/40s reproduction cotton print was a lucky find at my local fabric shop. (I was also able to find it in a purple colorway as well!) A few of you may remember the first time I used Du Barry 2413B, waaaaay back when I first started sewing 30s/40s clothing for myself. It's a great pattern and one I can see myself sewing a few more times!

It's a fairly basic pattern but it has some great details too. I love the option of the little V-shaped pockets! They make the perfect accent for a war-era dress. While the skirt does have some tiny pin tucks, they are kind of lost in this particular print. I think in a solid fabric they would stand out a bit more.

Here are a few in progress shots on the dress. Another thing I like about this dress are the little pouf sleeves and gathering at the shoulders.


Playing with some trim for the pockets! I ended up using this cotton eyelet. It helped break up the bright red print just bit. I added some dark colored vintage buttons from the stash too for the same reason.


Here are a few photos of the finished dress. I'm very happy with how this one turned out.


My friend Christiana bought the dress and she looks amazing in it! She even wore it for a photo session with A Timeless Collection. Here are a few images from that shoot, shown with permission.

Photo by A Timeless Collection

Photo by A Timeless Collection

Interested in purchasing a reproduction dress or blouse from me? Have a look at my Etsy shop.

Summary of the Pattern
Fabric: Late 1930s/early 1940s reproduction cotton print
Pattern: Du Barry 2413B
Year: About 1938/39
Notions: Buttons, thread, cotton lace trim
Time to Complete: Start to finish, I'd say about a week. It's an easy pattern to complete in a weekend if you have the time to sit and sew.
How historically accurate is it? Pretty darn close! The pattern is original vintage and the fabric is a historically accurate print. The buttons and lace trim, though vintage, are likely 1950s or 1960s.
Any tricky parts to the pattern? I've made this pattern once before and it goes together pretty easily.
Did you change anything? I chose not to add a side zipper. Instead of adding a collar I just turned but the front edges to form mini lapels.

Monday, December 28, 2015

Royal Vintage Shoes Review

Hello everyone! I hop you all had a wonderful Christmas!! Did Santa bring you everything on your vintage wish list?

Today I have a special review of a pair of shoes from Royal Vintage Shoes. Some of you may be familiar with this company but for those who may not know about it, a little background.


Royal Vintage Shoes is the sister company of American Duchess and brainchild of Lauren, the wonderfully talented blogger and designer for American Duchess footwear. Royal Vintage offers a curated collection of historical reproduction and vintage style shoes representing the 1920s, 1930s and 1940s. The shoes for sale are made by different companies but are offered in an easy, one-stop shopping location for the vintage shoe enthusiast. Forget spending hours searching the web for vintage style shoes! Now you can go to one site and shop until your heart's content! 

Telsa Vintage Suede Oxfords by Chelsea Crew
Personally, I have found the website to be very user friendly. You can search by your favorite decade or style of shoes, such as pumps, T-straps, and more. Communication is great and the shipping is fast and very reasonable. I even decide to join the Royal Vintage Shoes affiliate program, which is super easy to do. It gives me the chance to earn a tiny commission (which I can put towards shoes of my own) on any sales from purchases made using the links I provide. (You can read more about the program here.) Another nice feature about Royal Vintage Shoes is the chance to earn Royal Reward points for each of your purchases! After creating an account you can save and use your points for a future purchase.

The shoes I am reviewing today are Telsa Vintage Suede Oxfords by Chelsea Crew. I'm always a little hesitant to order shoes online. I have weird feet, in my own opinion, and tend to stay clear of unfamiliar online brands. I have heard from many people that Chelsea Crew shoes can run narrow. Since I had never tried a pair before I consulted the size size and thought it best to order my normal size. Royal Vintage shipped my shoes and they arrived very quickly. However, I found the Telsa's did in fact run narrow, at least for my feet. So after filling out the super handy return form, with a note about exchanging for a different size, back they went. Again, communicate was great and shipping super fast!


My new pair are a size 38 and fit great. They even have room for insoles which is an extra bonus. These are a nice vintage style pair of shoes at go great with both vintage style and modern clothing. I do wish the toes were a bit more rounded but that is really my only complaint.


The color is called wine, which I think it pretty accurate, though in person they appear a touch more purple then the pictured on my computer screen. I've worn them many times and find them comfortable. They look great with both pants and skirts for a vintage look. I found they were an almost perfect match with my me-made 40s skirt. It's one I made back in 2012 and was patterned from my 1940s brown suit, you've seen the suit a few times on my blog as it's a favorite of mine. The skirt was among my first attempts at taking a pattern from a vintage piece of clothing. My sweater, shown in my last post, was part of a vintage sweater gold mine a found at a near by thrift store! Some one must have cleaned out grandma's closet because I purchased 5 fabulous vintage cashmere sweaters all in one swoop!

I am very pleased with my experience shopping at Royal Vintage Shoes and I know you will be too!


Outfit Details
Silk Scarf - Fort Anne Antiques
Sweater - Thrifted
Skirt - Made by me
Shoes - Royal Vintage Shoes


I receive a small commission for providing affiliate links to certain products. However, all opinions in this post are my own. Please visit my Sponsors/Reviews page to learn more about my policy.
 

Thursday, March 5, 2015

A Tail of Two Wedding Dresses - VPLL Pattern Review

Finally, a post I know many of you have been waiting for. As I'm sure you all know I got married last October and was crazy enough to make not only my wedding dress, but a separate dress for the reception. I don't have as many construction pictures of my wedding dress as I would like. But that's par for the course I guess. The pattern I used for my wedding dress was the 1934 Evening Gown With Drop Sleeves from the Vintage Pattern Lending Library.


1934 Evening Gown With Drop Sleeves from the Vintage Pattern Lending Library.
The VPLL ships fast and does a very nice job in packing your order. Look how nice my little bundle of patterns were! I ordered three patterns in all. Each time you purchase a pattern, or leave a review, you earn points towards future purchasing. They patterns are printed on a nice quality paper. The instructions are pretty clear and easy to follow with some additional information provided as well.


My first task after receiving my pattern from the VPLL was to resize it. While the VPLL does offer some patterns in multiple sizes, this was not one of them. It was reproduced in its original size - a 38" bust which I am not. I made a quick mock up to help with resizing the pattern. All was going well until I cut into my lining material. In my hurry to complete the dress I forgot to add my seam allowance! Even with tiny 1/4" seams the dress was going to be too snug. Uuugh! I had enough material to cut a new lining for the basic dress but not enough for the train. Feeling frustrated and very annoyed with myself I tossed the project in the corner of the sewing room and didn't touch it for about two weeks. In the mean time I had to hunt for more lining material. I thought finding more of the same off white cotton muslin would be an easy task. Wrong!! I never realized how many shades of "off white" cotton there would be.

Source
McCall August 1934 Pattern Catalog - Source
This pattern actually goes together rather well, despite my fitting issues. For the bodice I treated the lace and lining as one. The lace pieces were first basted to the lining and then the bodice was sewn together. Next the bias tape binding was added to the neck edges and arm holes. I didn't have any white or off white on hand so I used peach which I think made a nice contrast to the lace.


The skirt is constructed to two sections - upper and lower with additional fabric added for the train. Again, lots of basting with the lace mounted first on the cotton lining. The two photos below show the lower back sections of the skirt. Because Cori and I had not moved into the new house yet, and thus I had no sewing space of my own, I worked on my dress at my parents' house. It's a good thing they have a giant dinning room table!


Here you can see the lower front section of the skirt.


Here is where it got a little tricky sewing wise. The zig zag edges of the upper and lower skirt sections are lapped which meant, yep you guessed it. LOTS of pinning and basting. I used colored thread so the basting stitches would be easy to see when it came time to take them out. The lapped seam makes for a nice neat finish but was fiddly due to the lace and excess fabric of the train. Ahhhh huge wedding train!! :)


I like using these extra long quilting pins. Plus the butterflies are kind of cute.


The hem of the cotton lining was finished off with bias tape. I made a small rolled hem for the lace section. The dress closes at the left side with a placket and snaps. The belt was made with a layer cotton fabric and fusible interfacing with the lace mounted on top right sides together. Then the belt was turned right side out and pressed. The rhinestone buckle is from a 1930s dress in my collection which sadly is in very poor condition.

The most obvious changes I made to the pattern, other then the size, were to omit the extra large fluffy sleeves and to add a RIDICULOUSLY long train. I made a slight change to the neckline and added darts to the bodice as well. The original neckline hit right across my collar bone which would have been OK except that I would not have been able to wear a necklace of any kind. This realization, of course, came after I had assembled the bodice and added all the bias tape around the edges. Grrr. My quick solution was to make an inch and a half slash down the very center front and turn the edges under. Not very neat but at that point I didn't care and just wanted the dress done!

Here you can see the changes I made to the neckline. If I were to make this dress again I would keep the original rounded neckline.


And the finished dress.


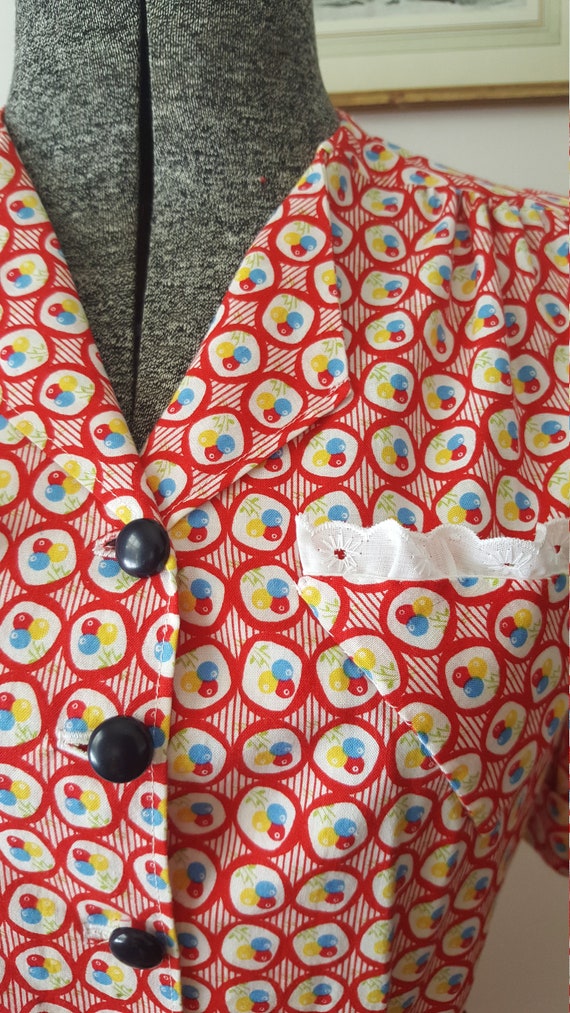
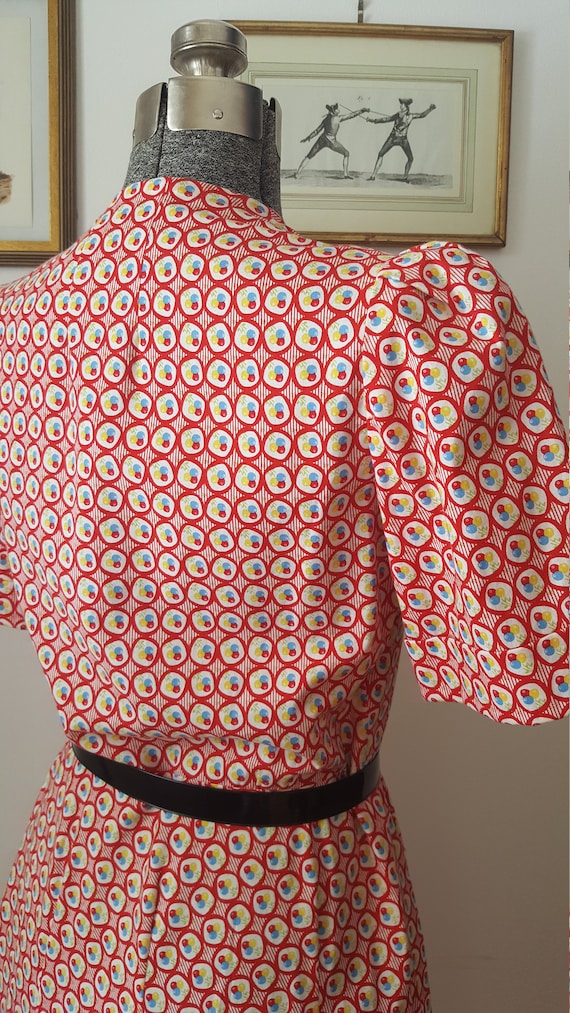
I have very few construction pictures of my reception dress and most of those are just a pile of lace fabric with my cat happily holding it down. Black cat, white fabric....it happens. My reception dress was made from the same lace fabric as my wedding dress and Advance 8269 which I purchased on Ebay. It was sewn very quickly the week of the wedding. Crazy I know, but I really wanted a shorter dress for the reception. It has some fitting issues that should be reworked at some point but I'll worry about that if I ever have the opportunity to wear the dress again.


Summary of the Pattern
Fabric: Cotton-ish lace with plastic sequins and 100% cotton lining all from JoAnn's Fabric.
Pattern: 1934 Evening Gown With Drop Sleeves from the Vintage Pattern Lending Library.
Year: 1930s
Notions: Bias tape, snaps, thread, rhinestone buckle all from the stash.
How historically accurate is it? Very, but it's really more 1930s evening then wedding. Although you do see lots of 30s evening gowns with trains, this one is really much too long for true evening wear. Wedding gowns of the 30s and 40s were mostly long sleeved too.
Any tricky parts to the pattern? Attaching the skirt bottom to the skirt top using a lapped seam. Part of the difficulty was due to the excess amount of fabric in the train.
Did you change anything? Left off the sleeves, slashed the neckline, and added the train. And of course resized the pattern.
Time to complete: ummm, hard to say. There was a lot start and stop with this. I worked on it over the course of 2 months. I started working on resizing the pattern sometime in July and finished the dress a couple weeks before the wedding.
First worn: October 10, 2014
Total cost: $16.50 for the pattern
Notes:

You can read more about my wedding day here and here.
 
Related Posts Plugin for WordPress, Blogger...