Sunday, May 3, 2015

A Proper Look at the Check Gown

This is an older project but one I realized, after a recent Facebook discussion on 18th century crossbarred gowns, that I have not properly shared. This post has actually been sitting, unfinished, in my draft folder for quite some time so I figure it was about time to complete it. Also, it has been a while since my last non-vintage post. I first blogged about my blue and white crossbarred gown here. And you can read a little more about my research here.

The  inspiration.
The black and white print, Native Meltons, by British artist Richard Houston (c.1721-1775). Which is based on the painting, The Oyster Girl, by French artist Philippe Mercier (1689-1760). The original painting by Mercier was sold by Christies in 2013.

Painting - "The Oyster Girl" by French artist Philippe Mercier (1689-1760).
Print - "Native Meltons" by British artist Richard Houston (c.1721-1775) Fitzwilliam Museum
Second print

A young woman standing beside a window at a table, a basket by her right elbow, opening oysters and putting them on a plate in front of her, looking up towards the veiwer, wearing a wide-brimmed hat over a frilled cap; after Mercier.
Mezzotint
Print - "The Fair Oysterinda" British Museum
"The oysters good - The Nymph so fair! Who would not wish to taste her Ware? No need has she aloud to Cry'em Since all who see her Fare must buy'em.' "

The fabric.
You will notice that my fabric has one extra vertical stripe so it's not a perfect match to the print/painting. Pretty darn close though! As I mentioned in my first post about this gown, I bought the fabric long before I found the painting/print. Here in New England there used to be an annual gathering called the Women's Winter Weekend. It was a chance for the ladies to get together for a couple days and share research, period recipes, patterns, and various 18th century sewing and crafting skills. It was also a chance to purchase fabrics, trims, books, etc.


Gown construction.
I had made a few gowns before this one, but mostly with solids and one with stripes. I feared the checks on this fabric would be difficult to work with but found the opposite to be true. Plus the linen itself was a dream to work with. It didn't hurt that I had some very talented ladies helping me out! A very large portion of this gown was constructed during a Hive workshop with the ladies that run Larkin and Smith. This gown is made very much like their new gown pattern.

The lining is constructed first using a firm linen fabric. The back of the gown has a center back seam and the side seams are lapped. Next I cut the panels for the center back and skirt, having measured from the base of my neck to a few inches above the floor, and from my waist to a few inches above the floor. The skirt panels were seamed with the long running stitch and then set aside. It's important to note that if you plan to wear any kind of hoop or bum roll under your gown you need to take those measurement over them. Since I planned to use this gown for a gowning class impression I didn't bother with either of those.

Setting the sleeves.
You can set the sleeves of an 18th century gown yourself if you have a dress form, but it's certainly easier if you have someone to help you. This is a nice close up showing the pleats and basting stitches on the sleeve head. This area is then covered with the robings.  


This is a good photo showing the gown front before the robings were adding. You can see the little darts that help shape the bodice at the bust and also the placement of the sleeves. I was wearing my old stays for this workshop. The gown fits a little differently over my new ones.


Adding the robings
The robing are just stripes of fabric sewn into a tube and then tacked to the gown fronts. On some surviving examples the robings are only sewn to the shoulder area and left floating. We did a pretty good job of lining up the stripes. :)

Adding the gown robings.

Here you can see the neck facing being pinned in place. The edges are mitered to meet the edges of the robings.

Adding the back neck facing
Pleating the skirts.
Here you can see all the pins holding my pleats in place. The gown bodice and pleats are first basted in place. Then the pins are remove. Basting is an extra step but it makes sewing the pleats so much easier and you don't need to worry about pricking yourself.

Pleating the skirts
 Side view


The finished gown. My first outing with this gown was a trip to Colonial Williamsburg.


This has become my favorite gown to wear for events. Because it's linen it is cool and comfortable. I enjoy wearing it with a striped petticoat and printed neckerchief just to mix things up a bit. One of these days I'd like to get the materials together to actually reproduce the print this gown is based on.

Thursday, April 30, 2015

Spring for Cotton - Simplicity 1782


Here is my finished Spring for Cotton project! A 1940s blouse using Simplicity 1782. I'm also counting this towards my list of Vintage Pattern Sewing Pledge projects. :)

http://luckylucille.com/2015/03/spring-for-cotton/


As you can see I've been experimenting with different scrafs to make a turban. This particular scarf is fairly long but only around 8 or 10 inches wide. I've also been sewing some dusting cap/turbans which is the subjust of another post. ;)


For these photos I paired the blouse with my WAVE skirt, a new to me pair of 1940s navy blue shoes, a felt flower boutineer from my wedding, and a couple of my red and black bracelets. The large red zig zag bracelet I believe is Bakelite and I think are as well except for the black one. I know there are several ways to test Bakelite but I've only tried the rub/smell test. I don't ofter wear bracelets because most are too big for my wrists. Also since I work at a compute most of the day I find they get in the way when I'm typing.


This wasn't originally on my list of patterns to make for the Vintage Pattern Sewing Pledge or Spring for Cotton because at the time I didn't own a copy. I first came across Simplicity 1782 while browsing the "evil bay" this winter. I missed out on a copy at the last minute, darn you snipers! I did find another copy in a different size but couldn't bring myself to spend $40.00 for a blouse pattern. Le sigh. I saved an image of the pattern and moved on. Much to my delight another copy came up for sale, again on the evil bay, and I was determined not to miss out this time! Now I finally have a copy and oh do I have plans for this blouse!

As you will see, I decided to test this pattern in some quilting cotton from the stash. But I have other fabrics destined to become tops. I'm thinking of making either View 1 or 2 from this semi-sheer white on white cotton and another version of View 3 in the yellow and white. :) Something bright for spring!


So, the details. This pattern went together fast! Laying out the pattern and cutting always seems to take a long time but even that went fairly quickly as there were so few pieces. The blouse is made using a front, back, two peplum pieces and a sleeve piece. Depending on the view you pick, you have options for the sleeves and peplum. For my wearable mockup I went with View 3 with the shorter sleeves and wider peplum.


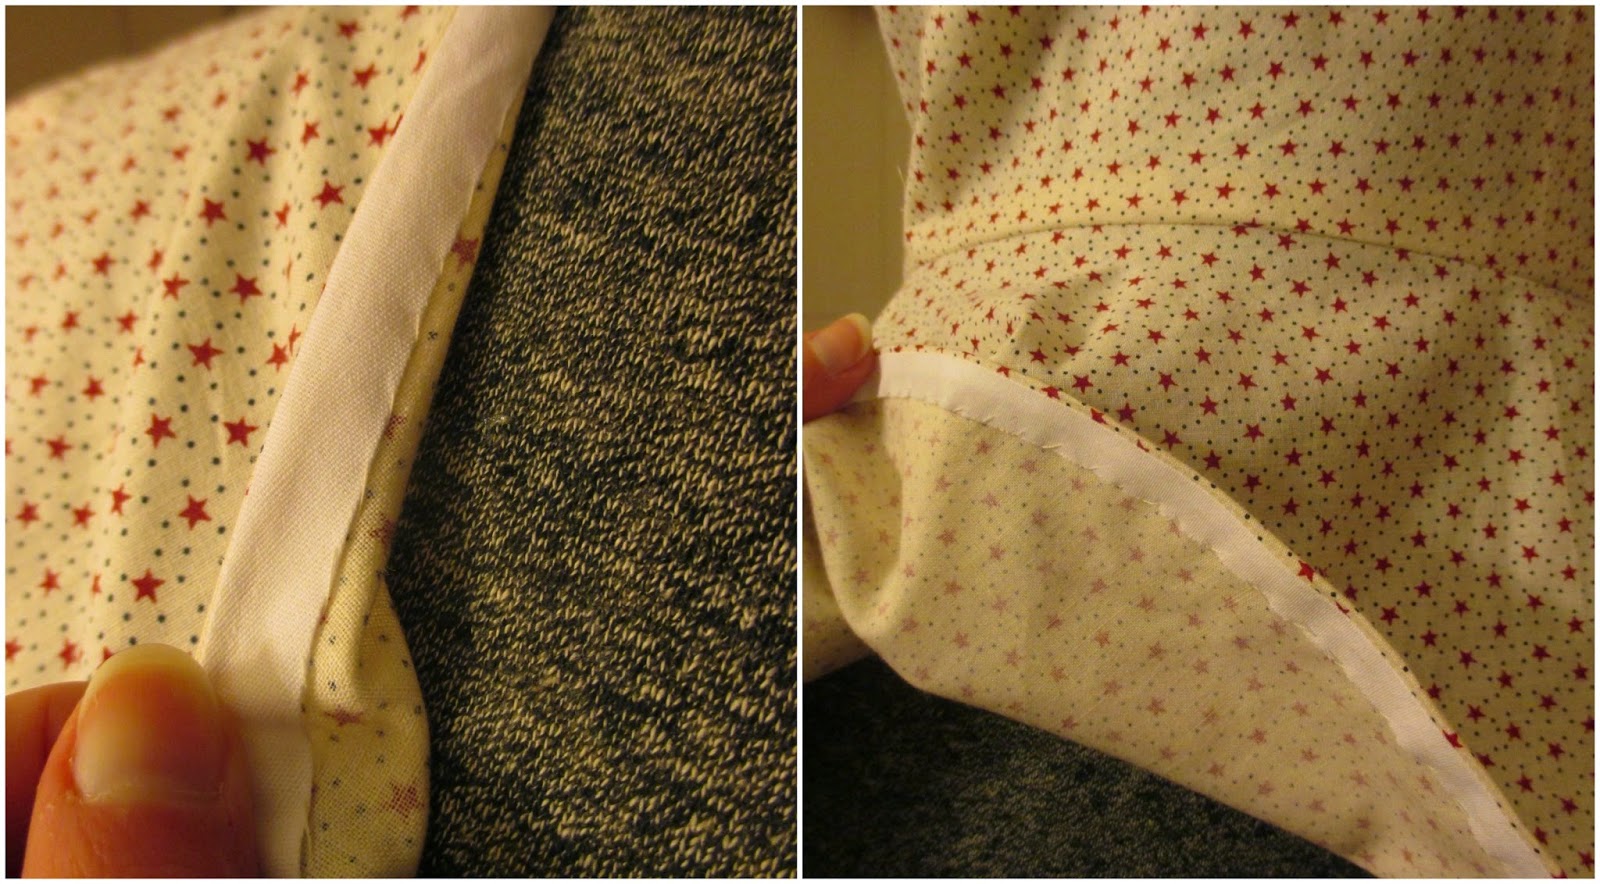
The back is cut on the fold with darts added to the waist and shoulders. The front is two pieces seamed up the middle with a small amount of shearing at the sides. After sewing up the sides and shoulders, I attached the peplum and tried it on for fit. I found the top to be a touch snug so I let the side seams out a little and that helped some. After that all that was left to do were the sleeves, the side placket, and binding the neck and hem with bias tape. Pretty simple. The short sleeve pattern piece looks like an elongated oval. You cut one piece for each sleeve which is then folded in half WRONG sides together and sewn into the arm hole. I didn't have any off white bias tape for the neck and hem but the white doesn't really show.

Overall I'm pretty happy with how this turned out and I think I have a very wearable muslin/mock up. It does have some minor fitting issues to work out. I found that the waist seam hit at exactly the same level as my skirt waistband and the waistband of my favorite high waisted pants. This makes it look and feel a little awkward. I think shortening the waist would help a little bit. Also, and maybe it's just the color and/or material I used but when I first tried this blouse on it looked very much like a maternity top. Adding a dark belt helped somewhat. Quilting cotton may be just a little too stiff for this blouse, just my two cents. The next time I make it will be with a much softer cotton.


Outfit Details
Blouse - Made by Me, Simplicity 1782
Skirt - WAVE uniform skirt, thrifted
Bracelets - Local antique shops
Shoes - Ebay
Flowers - from my wedding, 1940s Style for You on Etsy
Scarf - thrifted

And this photo. Because, flamingos!


Summary of the Pattern
Fabric:
Quilting cotton
Pattern: Simplicity 1782, View 3, Size 14/32" bust
Year: 1946
Notions: Thread, bias tape, snaps.
How historically accurate is it? Not bad. The fabric is not a reproduction print but I think it has a cute vintage feel to it.
Any tricky parts to the pattern? Not really. This pattern seemed to go together really fast and easy.
Did you change anything? The pattern calls for 5/8" seams but I found the blouse to be a little snug in the waist and difficult to put on and take off. I changed the seams to 3/8" and this helped.When I make this again, which I plan to do, I will build in a little extra seam allowance.
Time to complete: 3 to 4 hours
First worn: Yesterday for photos.
Total cost: All the materials were from the stash! Yeah! I think I paid around $12 for the pattern.
Notes: Next time I will a more ease to the waist. Also shorten the waist a little bit.

Here is a peak at some of the other tops I plan to sew this year. :) These are both 1950s and will be great for summer. Don't forget about my "Color Recipes for Spring" photo contest, there are still a few days left. You can read the details on how to enter here. (The deadline has been move to Sunday May 3rd!) For inspiration see this post and my interpretation of the color descriptions here.

Monday, April 27, 2015

Photo Contest Inspiration Part 2

OK ladies, just a few days left! Several of you mentioned you would like to participate in my "Color Recipes for Spring" photo contest but so far only one person has sent me photos. Don't worry you still have time! You can email me at vintagevisions27 (at) gmail (dot) com. The deadline is Sunday May 3rd. The winner will be announced in early May and receive a special prize.

- Please Note! I'm moving the deadline back to May 3rd to give everyone a few more days. That also give me more time to put together the prize. :) -
Just a quick recap on the contest details for those who may have missed my earlier post. The goal is to create a 1930s or 1940s outfit using inspiration from this newspaper article. The only requirements are your outfit must be 1930s or 1940s and inspired by the color descriptions in the newspaper article provided. Feel free to use any combination of vintage, reproduction or new items (as long as they fit the theme) to create your outfit. (OLL gals feel free to use items purchased through that group - I know many of you have scored some amazing things! - and let me know if you have done so.) Email your photo with a short description. If you have a blog or other website let me know so I can link back to you when I share the photos. Photos will be shared here on my blog as well as in a special album on my Facebook page.

Here are my "Vintage Color Recipes" outfits to help inspire you. This past weekend was finally warm enough to take some photos outside. Well, Saturday anyway. Things are starting to turn green at last! I was very pleased to see I few spring blubs in the gardens too. Since we moved into our new house in September, I never had the chance to see what kind of flowers might be in the gardens because most everything had gone by at that point. I don't plan to do much with the gardens this year other then weeding and taking notes on what comes up. I do think I will be ordering more spring bulbs because those first splashes of color are a must after a long winter. Particularly like the one we just had!

So on to my first outfit. Of all the color descriptions in the Dallas article, this one about the red shoes and bags stuck out to me the most. Like many people, when I think of spring colors I think of pinks, yellows, light blues and greens. All those wonderful pastel colors that suddenly appear everywhere just before Easter. I don't have many pastels in my wardrobe, vintage or modern. But as you will see below, I did manage to put together a pink outfit. :) Reading through these descriptions and going through my vintage clothing and accessories was a lot of fun. And in doing so I learned a number of things. It really made me think about colors and the many ways to mix and match to make the most of your wardrobe.

- I have more colors in my vintage closet then I thought, that being said I need to add the following colors; Lime green, Cyclamen, and in general more pastels.
- I never would have thought about pairing lime green with navy blue!
- Brown for spring? Who knew!

I didn't have a lime green or chartreuse dress so I went with gold/mustard yellow. This dress was purchased through the Ooh La La! Vintage Swap and Sell Shop Facebook group. As I write this post I realize that the only green dress I have is my 2014 Sew for Victory dress. It's not lime or chartreuse but more of a minty green. Still, I may try another photo shoot in the future and pair it with the accessories you see below.

Madcap.
And finally we come to dark-red shoes and bags, preferably in alligator, please, and sometimes referred to as mulberry, claret, wine Burgundy. If you must ... the budget rears its head .... you can have your alligator simulated. Or, if and alligator scared your mother, you can still have accessories in one of these deep rich reds in pigskin, suede, or a fabric.

    Shoes and bag worn with the following, and you'll look good enough to eat: ...
2) A chartreuse dress, dark red coat, soft blue hat, light beige gloves.   

 Personally I think this outfit would be better for late summer or fall. Although with a lime green or chartreuse dress I could certainly see it for spring.


Outfit details - Gold and Red
Dress - Ooh La La! Vintage Swap and Sell Shop Facebook group
Gloves, Bangles and Purse- Thrifted
Shoes - Ebay

Here you see the same gold dress but this time paired with green gloves, shoes, and purse. All three came to me together and have a very special story which I will be sharing in a future post. The little straw hat is one I reshaped and added velvet ribbon to. You may remember it from photos of my green Sew for Victory dress. 


Outfit details - Gold and Green
Dress - Ooh La La! Vintage Swap and Sell Shop Facebook group
Hat -  My own creation
Gloves, Shoes and Purse- Ebay

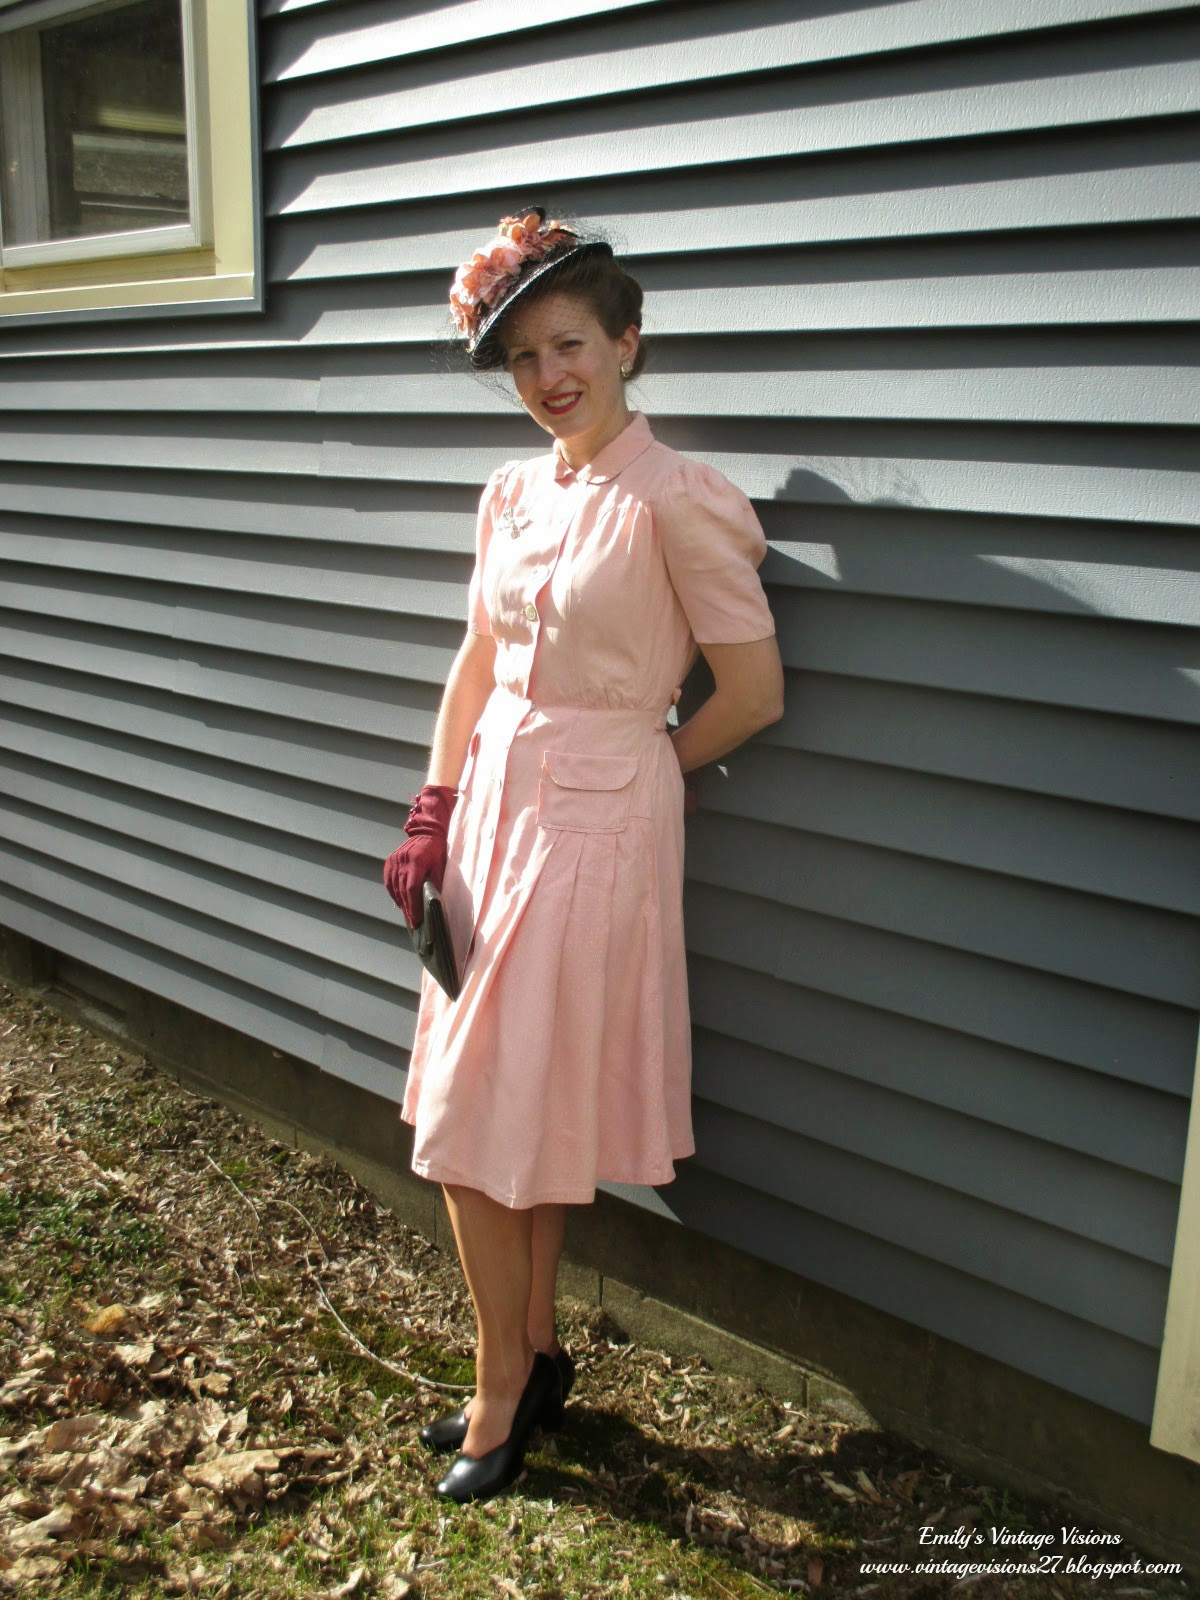
The article didn't mention much about pink. And as it turns out it's a color I don't have a ton of anyway. I did, however, recently pick up this little pink dress at a local shop a few weeks back. It's a bit worn but was just fine to wear for these pictures. It's hard to tell but the pink fabric has little white dots but on close inspections you can see that most of them have faded from the shoulders and sleeves.


Outfit details - Thinking Pink
Dress - Vintage Vermont Antique Shop
Gloves and Purse - Thirfted
Pin - Brimfield Flea Market

Sunday was overcast and rainy so I had to resort to taking photos inside. This didn't last long because I had too much "help" from my fluffy friends. Sorry for the poor photo quality, my lighting was not very good.

I don't have a blue pinstripe suit but I do have fabric and a pattern. That counts right?

Navy is a long-time favorite every spring. Combined with white touches, you've got something. Our frosted ensemble required the following: With navy shoes and navy bag, a two-piece navy suit, white frilly blouse, white hat, white veil. ...

Navy and Red.
(1) If you prefer the lipstick red, choose a narrow leather belt, a shoulder bouquet, and a ribbon band for your hat in the red. Wear it with a navy skirt, a navy jacket with a white chalk stripe, navy sailor, navy shoes, bag and white gloves.


(2) If you prefer the bright red, wear a navy blue suit with polka-dot taffeta collar, navy straw hat with a white and bright red ribbon crown, navy shoes and  bag, white gloves. 


Details
Blue dress - made by me using DuBarry 2413B (See more photos here)
Flowers - from my wedding and made by 1940s Style For You on Etsy
Gloves, scarf, etc. - Thrifted

Brown is really the last color I want to wear in spring but I can see with the right accessories it could be very pretty.
 
Noble Idea.
Because of the popularity of some colors, there will be some who will wear a less popular color in order to be individual. Thus brown is literally and figuratively a dark horse for spring. ... 


Details
Brown suit - Morning Glorious Vintage (see more photos of it here)
Orange turban- made by me
Gloves, purse. - Thrifted
Bangles - Ooh La La! Vintage Swap and Sell Shop Facebook group

So there you have it! I can't wait to see what you ladies come up with. :) Oh and just a note about the prize, I've been working on a couple turbans/dusting caps from a vintage pattern. I'll be including one as part of my prize package.

Thursday, April 23, 2015

Photo Contest Inspiration Part 1

Hello all! Just a reminder that there is still plenty of time to enter my "Color Recipes for Spring" photo contest. For those that missed my early post you and read all about it here. I've been working on putting together a few of my own outfits to show you. However, that last few days have been rather rainy and cold. No good for outside photos. :( Hopefully the weather will cooperate this weekend.

-Please Note! I'm moving the deadline back to May 3rd to give everyone a few more days. That also give me more time to put together the prize. :) - 


In the mean time here are a few images I've found around the web. You have until April 30th to email me a photo of your outfit - vintagevisions27 (at) gmail (dot) com -  if you would like to be included. I will post the photos to an album on my Facebook page so everyone can see them as well as create a special blog post. The winner, or winners if I can't decide on just one, with receive a vintage spring theme prize!

Source
Source
From Woman's Sphere magazine, April 1941 - Source
This one is summer, but these accessories are so pretty!

Sears Midsummer Catalog 1944 - Source
How about this fantastic navy blue fitted linen jacket with chartreuse skirt!?

Sold by Dear Golden

Source
Source

Source
Related Posts Plugin for WordPress, Blogger...